Help Center
The product creation guide will walk you through how to create beautiful new products for your eCommerce store. The process is easy, seamless, and enables you to create new products within minutes. In this guide, you'll find step-by-step instructions and helpful tips to ensure that your new product is up and running in no time.
Let's get started and dive into the product creation process!
Select a New Product to Create
Select “Products” on the left side navigation and click “Create Product”. You will be navigated to our product catalog, you can filter on the left side to find the product right for you.
Click on the product you would like to get started with. The product details page provides you with all the information you need regarding this product. Have a look through the variant options and make sure this is the one you would like to get started with, click the “Start Designing” button.

Select Product Variations
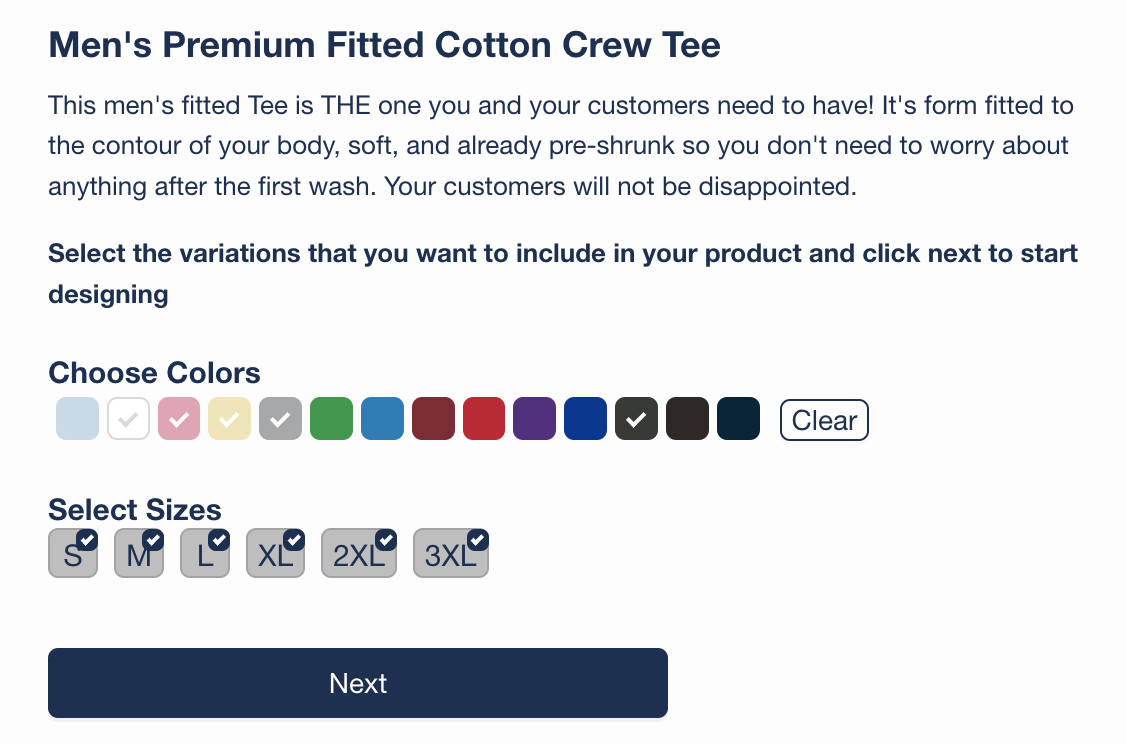
You will see a list of all variations for the product you are about to create. For apparel, by default, the color white is already preselected. Click the color boxes to add additional color variations for the product you are creating. For apparel, by default, all size options are pre-selected. We recommend selecting all sizes to give your customers as many size options as possible on your eCommerce store.
Note: At any time, you can navigate back to this page if you would like to add or remove variations for the product you are creating.
After you have selected the variations you would like for the product you are about to create, click the “Next” button.
Start Designing
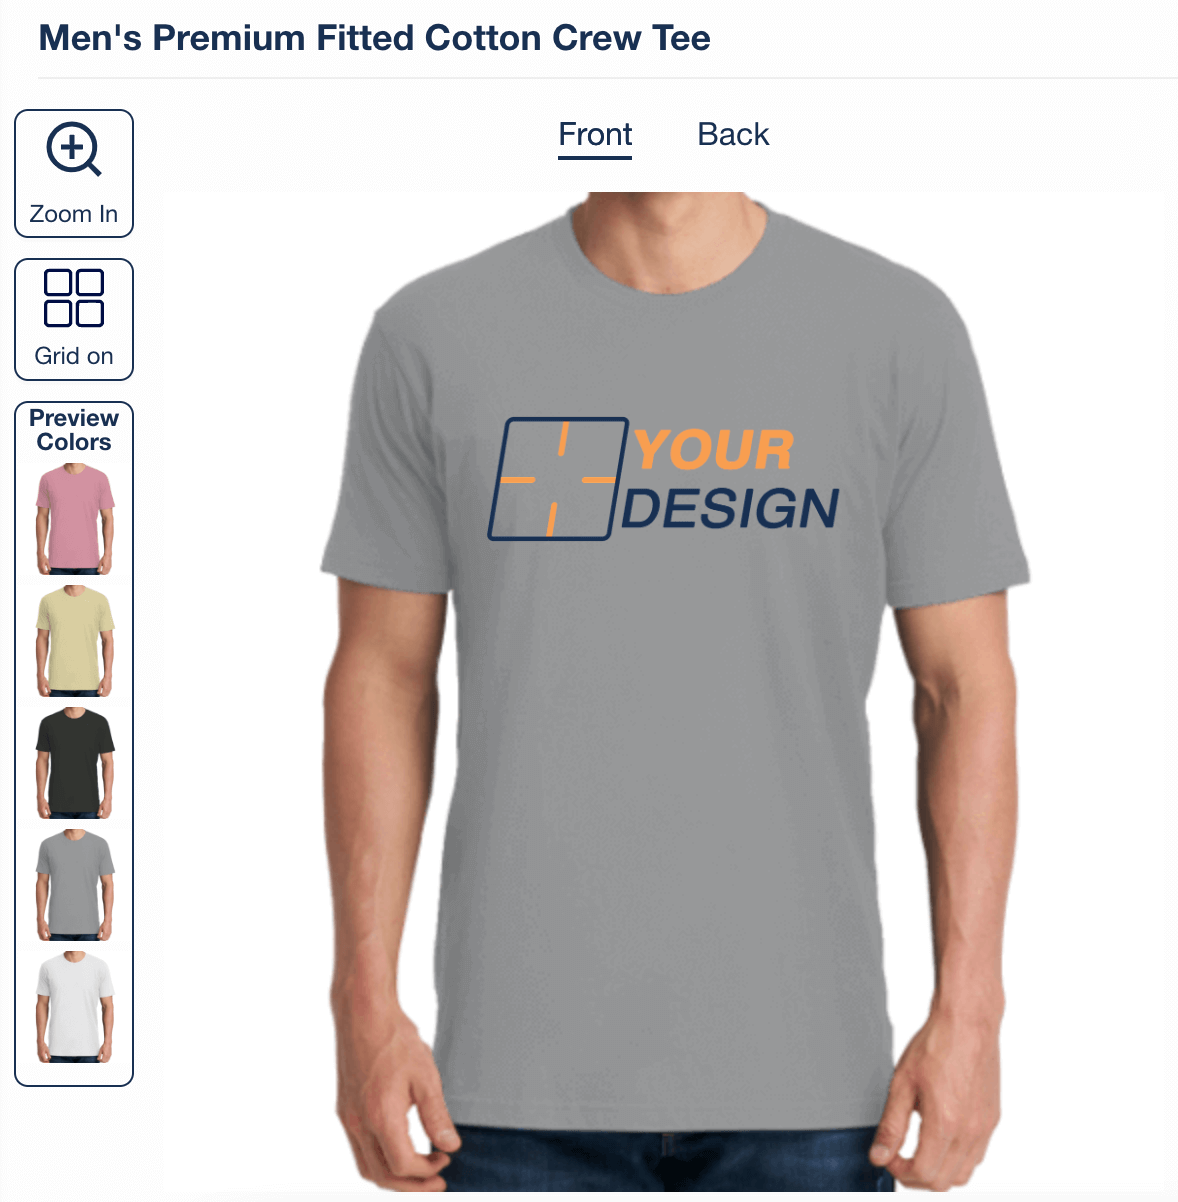
Now you are ready to create the product your customers will purchase from your eCommerce store. In the design engine you will see options to “Add Image” or “Add Text”. For apparel products, you will see tabs above the apparel image for front and back. Select the area of the product you would like to add your design or text to.
Add Image
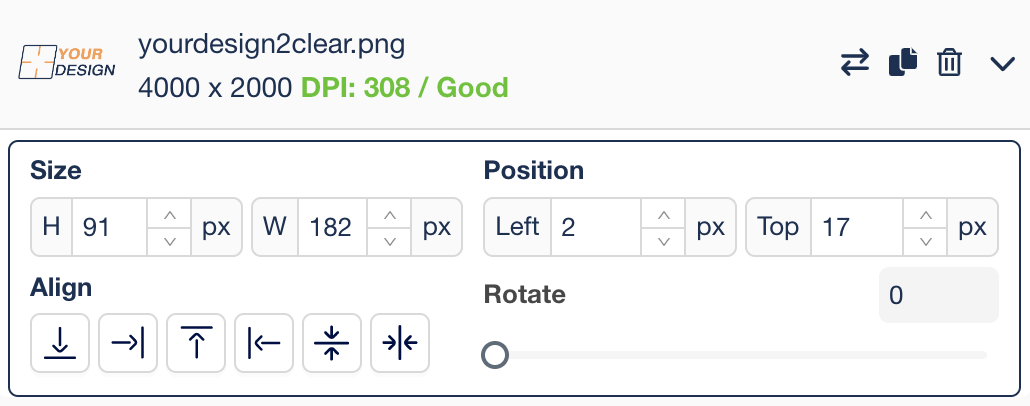
If you have a design ready to go, click the “Add Image” button. On the popup, you can upload a new design from your computer or select a design you have previously uploaded into the design library. Position your design by dragging the image to where you want it on the product. You can change the size of your design by clicking on the corner of your design image outline and decreasing or increasing the size.
Note: If you need design assistance, the PODx team is here to help. Reach out to our team at design@podx.net with the design help you need.
Note: Image requirements to ensure a high quality product:
- File Type: JPG or PNG
- Minimum file DPI: 150 DP
- Preferred DPI: 300 DPI
Add Text
If you would like to add text to your product, select the “Add Text” button. Enter the text you would like on the product in the text input box. Utilize the text functionality section to select font, text size, style, color, and many ways to modify the text and make your product unique.
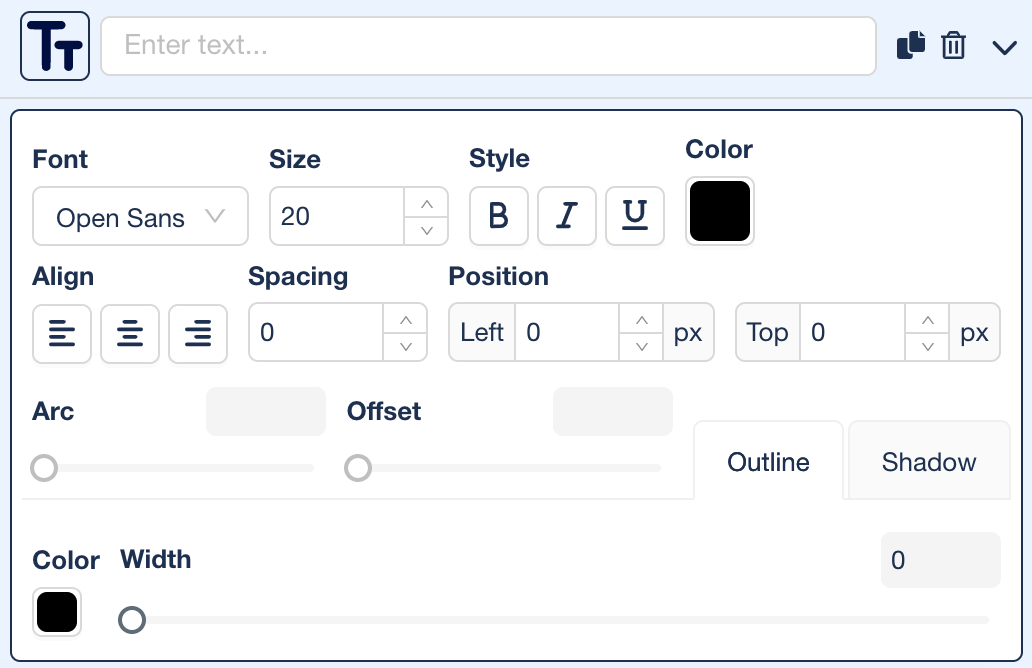
Note: You can add as many image and text elements as you would like on your product. Simply select the “Add Image” or “Add Text” button again to add additional elements to your product.
Note: At anytime you can update, change, or remove the variation options you initially selected in the previous step by selecting “Edit product variants”.

Note: You can preview how your product looks on each color variation by clicking the color under the “Review colors” section on the left side.
Layering
One of the awesome and unique features of PODx is our layer functionality. The layer functionality for apparel allows you to upload multiple variations of the same design and select which color variations of the product you would like each design to be on.
The best way to utilize this functionality is to have the exact same design in a light color and a dark color version. You can then place the light version of your design on the darker product color variations. Place the darker version of your design on the lighter product color variations.
To use the layer functionality, click the duplicate button here:

Checkout our PODx layer functionality guide here to walk you through setting this up and a demo video on how it works.
When your product is ready to go, click the next button on the top right of the screen to proceed to the media section.
Media
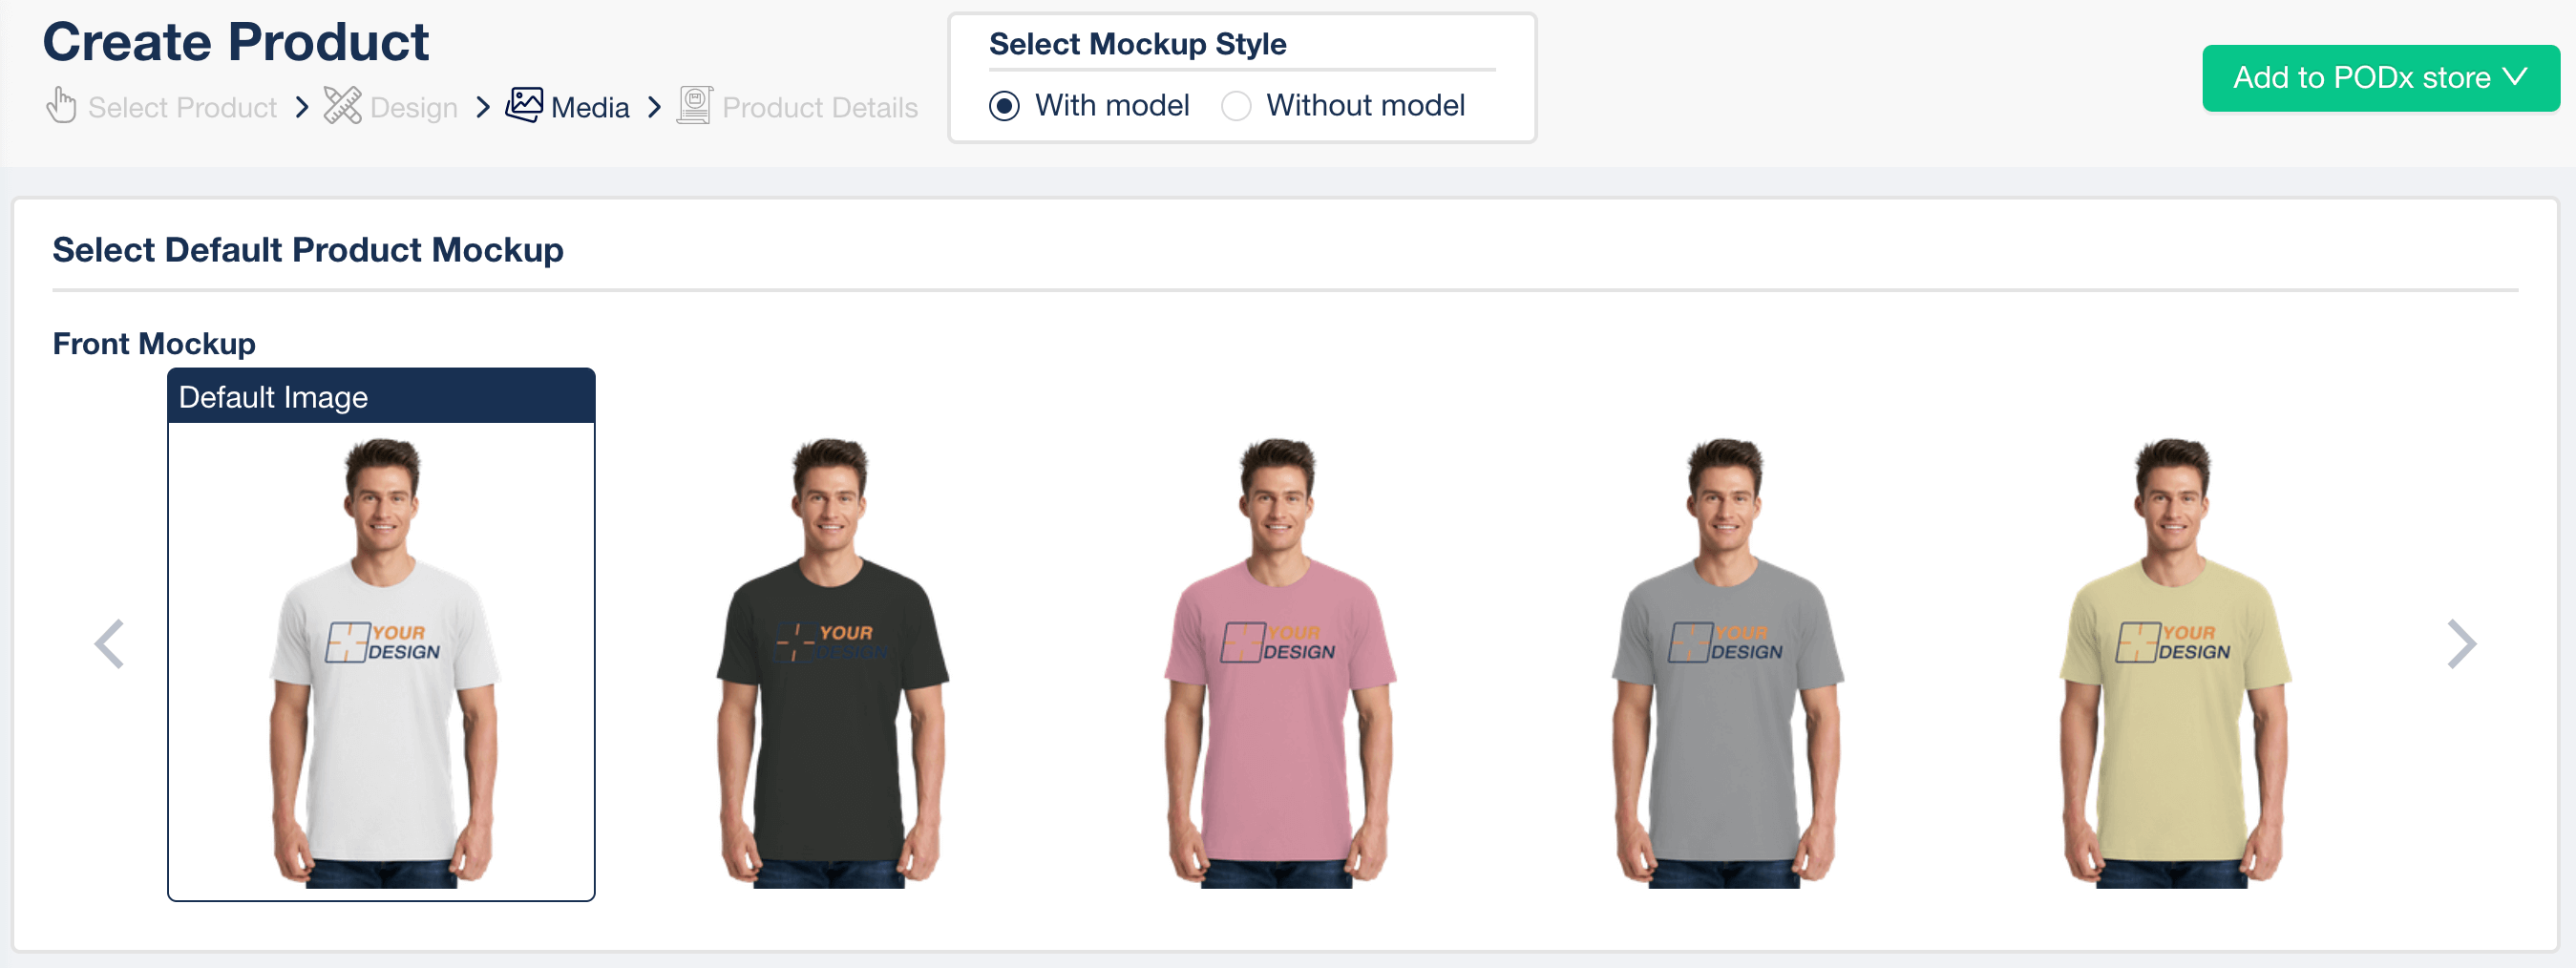
On the media screen you will see mockups for all apparel color variations you selected for this product. At the top center of the screen, you can select between the mockup style with model or without model. When you have the mockup, you would like to proceed with, click on the product color variation. On the top right of the screen, select the connected eCommerce store you would like to add this product to.
This will be the default image for this product on your eCommerce store. You can change the default image at any time directly from your eCommerce store.
Note: Many clients prefer to create their own marketing for the products they create in PODx. You always have the ability to order a sample and then create your own lifestyle images for this product on your eCommerce store.